When our forefathers packed up and moved westward during the 1800’s, they ideally sought to homestead a vast spread of level land suitable for growing crops. Lots of folks today discover they’ve got the bug for homesteadin’ and gardenin’ too—but AFTER they’ve already put down stakes and purchased a home. They usually have much less acreage at their disposal than the homesteader of the 19th century, and sometimes end up having to contend with a sloping, uneven area if they’re to pursue their new-found delight of raising their own food. Even people that didn’t take agri in high school know that tilled or broken up ground on hillsides can easily wash away during mild rains resulting in a loss of valuable topsoil. Gravity’s tough. But for the hilly property owner, sloping garden areas shouldn’t slow you down. Hill folks have been growin’ their food on leanin’ land since Hector was a pup. The proprietor of uneven ground can take advantage of some simple ways to make somewhat “vertical” earth a little more “horizontal”.
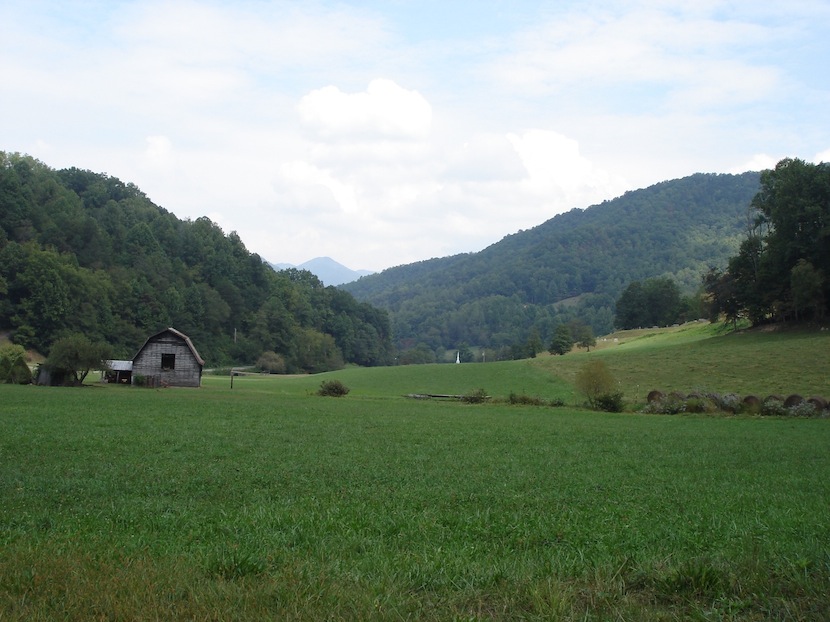
An obvious answer to the afore-mentioned problem is raised bed gardening. When you’re building up these large so called “containers” of raised beds out of wood or stone you can make the tops level. Problem solved. But we’ll talk about raised beds some other time. The sights of this post is set on folks who have their hearts set on old-fashioned row gardens.
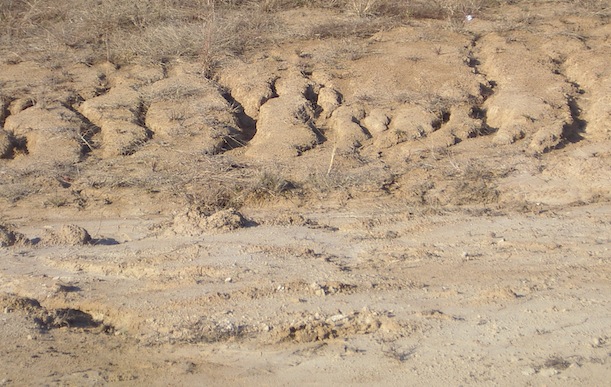
A bad garden. Yours won’t look like this.
The basic principle for row gardening on inclined ground is to slow down the escape of rainwater. After all, it’s the “rushing” movement of water that moves soil so bad. Even rows that are only slightly inclined can suffer a loss of good dirt during thundershowers. The simplest way of conserving water and avoiding erosion is to use the rows themselves. If your garden area has a slight downward grade in one direction, it’s possible that the answer could be simply to align your rows perpendicular to the direction of incline. Runoff water that ordinarily escapes quickly downhill is slowed by the crosswise barrier that rows create giving it more time to be absorbed by the plants. You might also dam up the middles at each end of the rows to keep as much water in the garden as possible. You can do this after each cultivation just by hoeing up a pile of dirt. And if rainwater too often runs across the rows during downpours, consider building your rows higher than you normally do.
Secondly, don’t limit yourself to having straight rows. It’s nice when garden rows are even and straight, but not if some of them end up washing straight downhill during a rainstorm. Instead, examine the grade or incline of your area and make your rows follow the lines of equal elevation. This method of arranging rows is known as contour gardening; where rows follow or “contour” to an imaginary line that keeps to the same elevation.
Think of it this way: Imagine you’re exercising by walking on the slope of a steep mountain (as if you need exercise, bein’ a farmer ‘n’ all). You wish to keep walking but do not want to continue up the hill or down it. Your only option is to walk perpendicular to the imaginary line going directly up and down the hillside. In this way you’re keeping to a line of equal elevation.
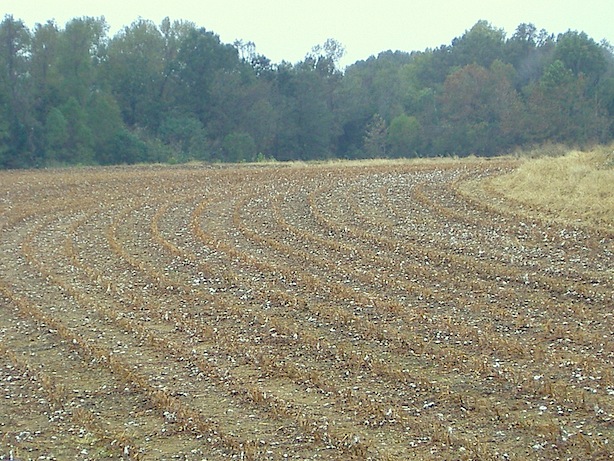
Now transfer this concept to your garden. Find the midpoint that’s halfway down your inclined gardening area. Then using a garden hose (or a rope), lay it out so that it transverses an equal line of elevation from one side to the other. Examine the hose from as many different vantage points as possible, making adjustments, if necessary, for it to be as level as possible. It’s not always easy to find the path of equal latitude since perspective can be deceiving. You may find it helpful to use a long carpenter’s level laid across the hose to give you an idea of what corrections to make.
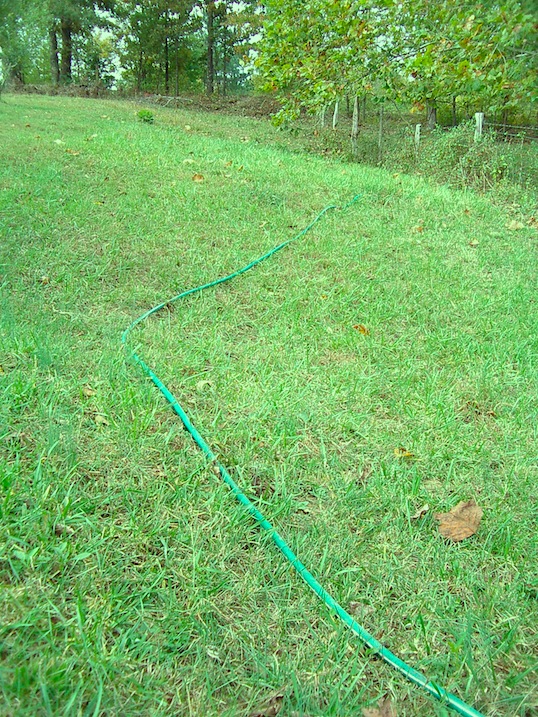
However it is not impossible to find your level row by merely “eyeballing” it. Besides you can always adjust what turns out to be problem areas later. If your garden spot contains slopes facing many directions and not just one two-dimensional, tilting plane, you’ll probably find that your hose is less than straight. That’s okay. What we’re trying to do is avoid providing water a channel of quick escape downhill by holding it in place laterally.
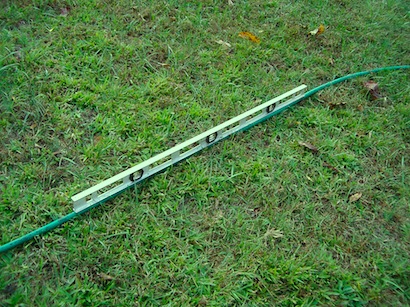
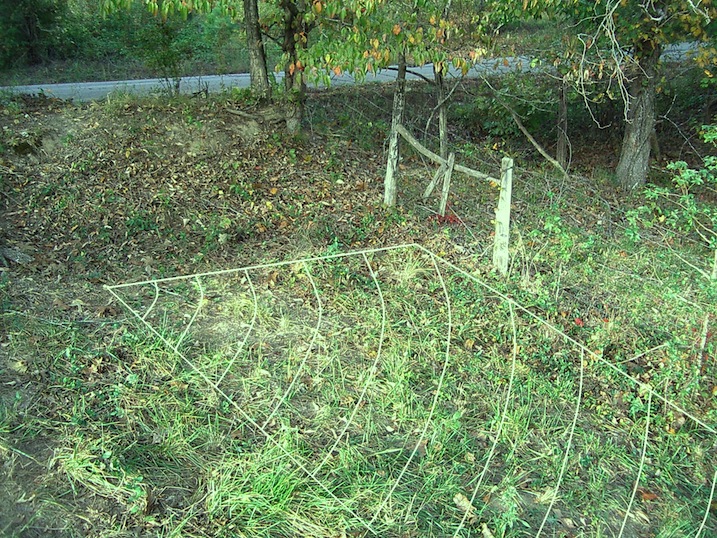
After you are relatively confident that your row is level from end to end, you may lay out the rest of your rows (however far apart you choose) up the incline and down, parallel to the original. When laying out rows in this manner, if your intent is to keep all of your rows evenly spaced apart, you may discover that some rows still tend to go downhill a bit in some areas (this is due to the fact that you are making your rows equidistant from each other and not relocating the line of equal elevation for each row). If these areas continually suffer erosion during medium to heavy rainfalls, you might consider locating the line of equal elevation at other points up and down the hill, then placing rows at equal distances in between. You may end up with rows of variable widths this way, but that’s fine. Wider rows can be built up higher than narrow ones giving even more of a barrier to the escape of water. Another solution could be as simple as ending the row shorter than others if the problem area is near a row’s end.
In the old days, a farmer was pretty proud of his long, straight rows he made with mule and plow; and made fun of his neighbor’s slightly crooked one. But that was mainly flat land folk. So don’t succumb to the notion that straight is always better in the garden. Consider makin’ a change in your downward sloped patch of ground this year if you’ve had problems in the past with erosion. You’ll have the satisfaction of knowing you’ve put a piece of ground that others might have ignored into valuable use. Now that’s farmin’.
(This article was written by Pa Mac and first published as “Contours in the Garden” in the February 2006 issue of Tennessee Gardener Magazine, excerpted here with permission courtesy of State by State Gardening)
Shared on:
The Backyard Farming Connection
