Watch episode 12 of The Farm Hand’s Companions Show right here, and read the extra information in the corresponding post that follows below
A few “finishing touches” are all that’s left on this pole barn before I can gather up my tools, move in, and start usin’ it as my workshop and tool shed.
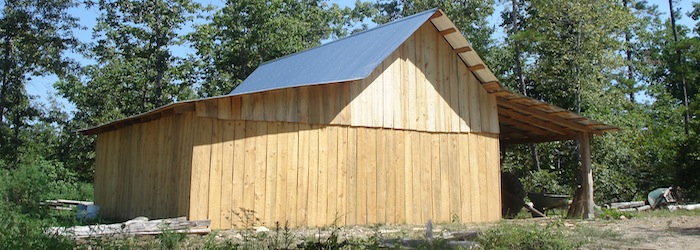
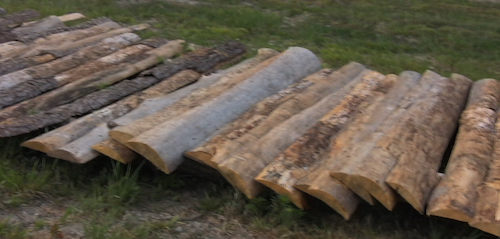
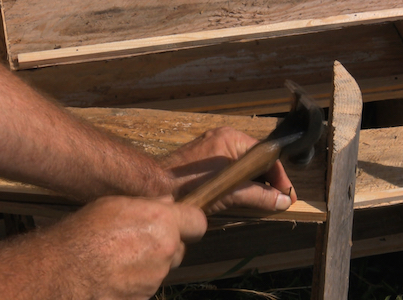
The first order of business is coverin’ the cracks between wall boards. That’ll be an ideal use for these slabs leftover from millin’ the wall boards. Each slab is ripped into long strips called battens. Widths from 2 and a half to 3 inches wide cover the cracks well, and a few nails angled to miss the crack hold each batten in place. To direct rain away from the wall, the bottom of each batten has a beveled cut, with their tops angled accordingly to match the roof line. Measurin’, cuttin’, and nailin’ are pretty much all there is to the rest of it.
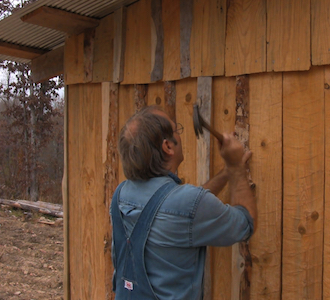
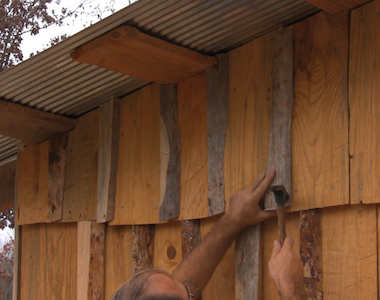
With most of the battens up, I turn my attention to some windows. These windows are kindly sentimental to me seein’ as how I salvaged ’em out of my old chicken house after first salvagin’ ’em out of my grandparent’s (Pa Mac & Nanny’s) house before the roof started cavin’ in. I put hinges on the side of one of the windows and set it up high in the gable end, but sliding windows down below seem to be just the thing.
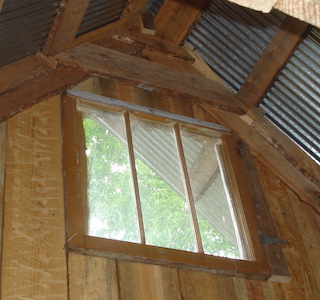
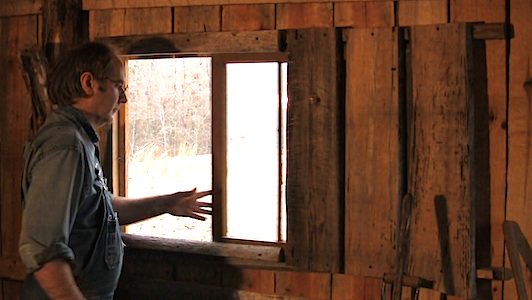
Here’s how I did it. After measuring and drawing out on the wall the opening the window will make (determining it to be slightly smaller than the dimensions of the window panes I’m usin’), I temporarily tack together the boards that will be cut out to make the window. I also permanently nail a couple of boards to the inside of the wall above and below where the cut will be made (these will form the frame or “tracks” within which the window will slide.
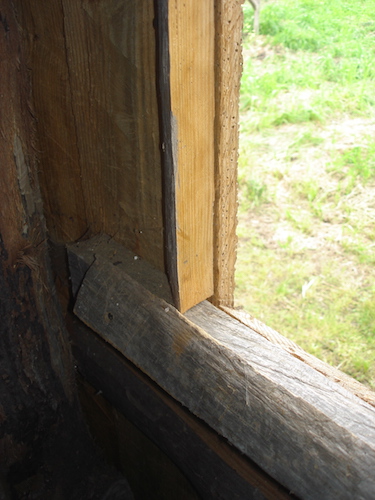
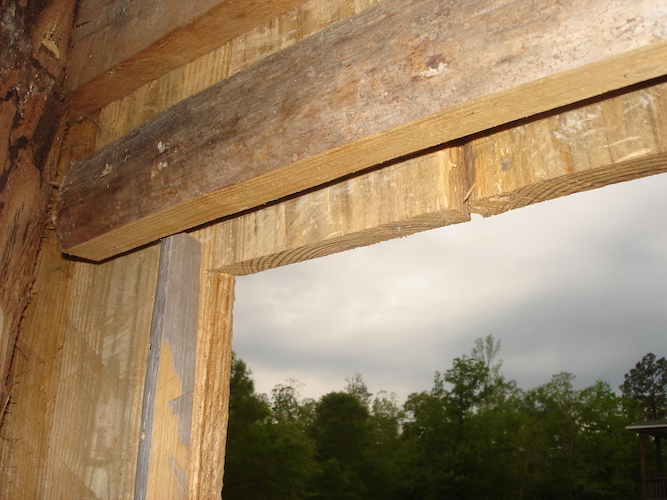
Then I cut the whole section out at once, sawin’ along the bottom first, then the top; else the weight of the boards would jam the saw blade as it comes loose. With these boards still tacked together, I nail a couple of cross pieces at the top and bottom. I also tack on a diagonal brace and a board on the edge, opposite the side to be hinged. The two cross pieces and this last board on the edge all extend past the boards I just cut out by about an inch or so. Then after a couple of hinges are attached, these former pieces of wall boards become instant “shutters” and are fastened to another board that’s nailed to the side of the window on the outside.
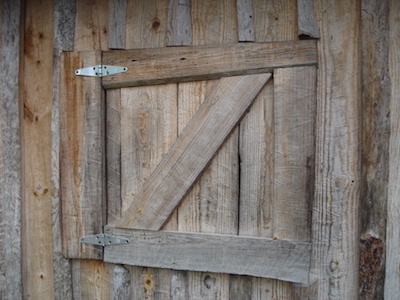
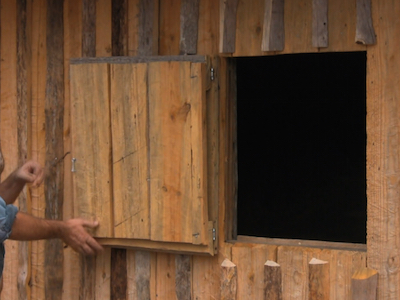
Now for the actual window. The window pane is set on top of the bottom horizontal board I earlier nailed to the interior wall. Other smaller boards are tacked to overlap at the top and bottom just enough to keep the window from falling out of its track. When fully slid open, a covering of boards on the inside protect the window from being broken when I’m slingin’ around long handled tools (as I’m so apt to do).
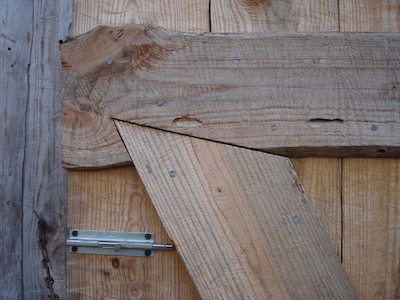
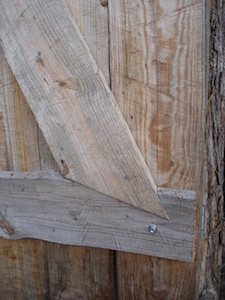
Good, solid doors were the next thing on my list. The “brace” board that keeps the door from saggin’ over time, is “set in” to the top and bottom cross pieces. Although settin’ the brace board into the cross pieces like this are not the least bit necessary, it’s right smart to look at.
An extra post was needed for the doorway, set away from the corner post about the width of the door. The door hinges on this “dummy” post side. The runners for wall boards are trimmed even on the entrance side of the dummy post.
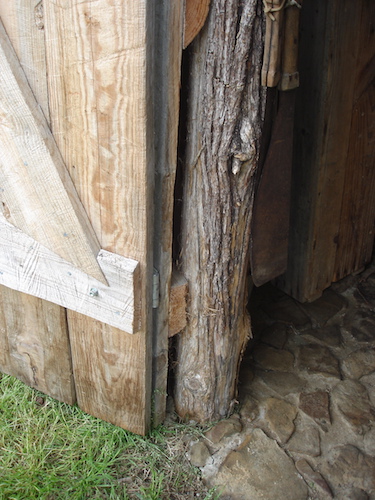
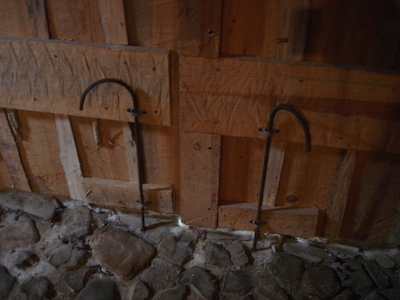
A double door entrance (or exit, dependin’ on whether you’re comin’ or goin’) is also constructed so that I can get larger items in and out of the workshop if and when the need arises. Who knows; I may want to build an old-fashioned wagon in here one day. The bottom of the two doors are held fast at the bottom by bent rebar pieces that can be dropped into holes embedded in the concrete and rock floor.
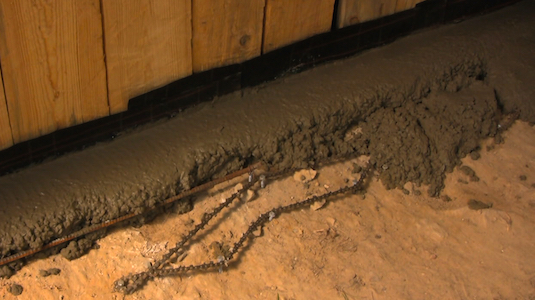
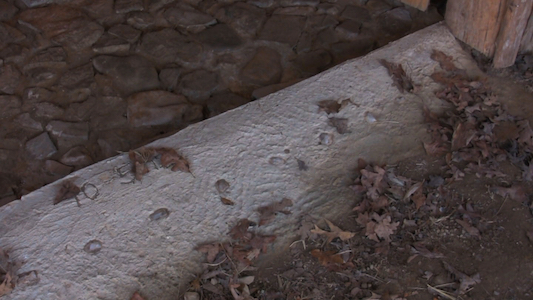
At both doorways a concrete threshold can be poured to slope up to the floor level. Worn out chainsaw blades can be used to reinforce the concrete threshold, and it sure beats throwin’ ’em away. A near ’bout perfect threshold can be custom poured to match the bottom of the door. I just put some feed sacks or tar paper against the bottom of the wood doors so the wet concrete doesn’t stick too ‘em bad, and then pour the concrete, makin’ sure to slap out any air pockets. And the lower I can make the top of the threshold the better; I may want to build a wagon in the workshop one day, and I won’t want to push too hard to try and get it up and over a tall threshold.
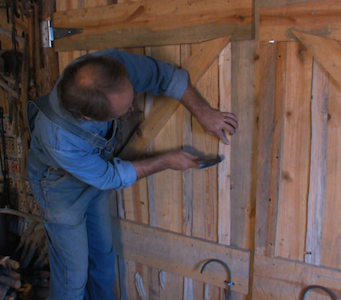
Thinner battens are tacked up to cover the cracks in the doors. Been studyin’ how I might teach dirt dobbers to dob in the cracks and not the middle of the boards. So far, so not good.
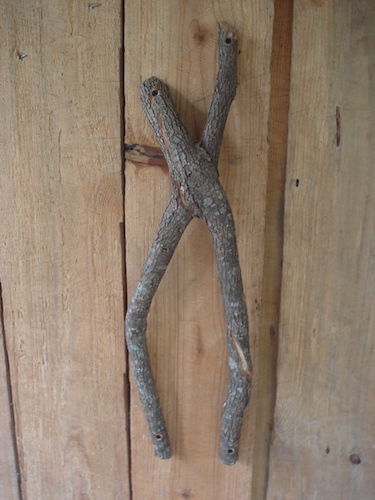
I need to give a little thought to door latches and handles, too. And inspiration can come from anywhere even cuttin’ firewood. This rare joining of a couple of saplings that somehow grew together at the middle will make a fair handle on one of the double doors. A little style and flare never hurts.
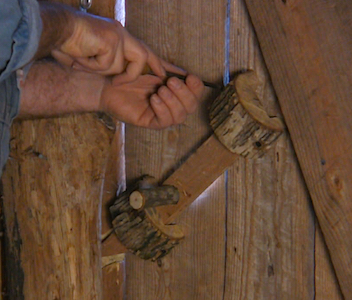
Other types of door handles or latches can be slightly more complicated, but well worth the effort. A well-made latch will improve with time and use, and years from now will be well sanded and oiled by havin’ been opened thousands of times by human hands.
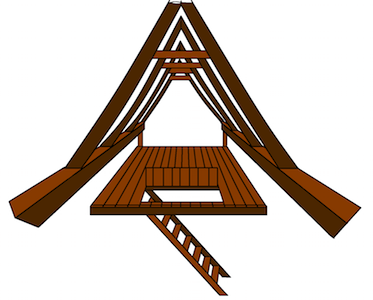
Up in the loft area, I’ll nail one-inch planks down on the loft joists after I mill more lumber sometime later, and add some stairs to get up there with. If this had been built as a barn for keeping livestock, I could have left small sections of the loft floor open or added trap doors directly above feed racks built over mangers down below.
I could have put in a wood plank floor down in the main part of the pole barn by nailing in a series of floor joists between posts and then nailin’ down floor planks. This is a good option for a tack room, a feed room, or a corn crib.
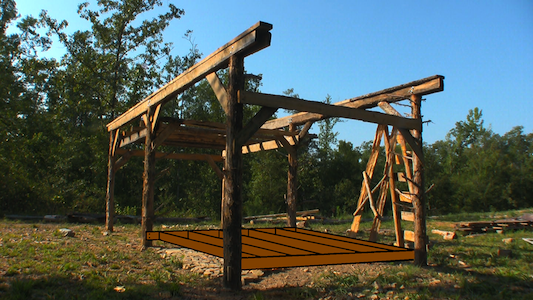
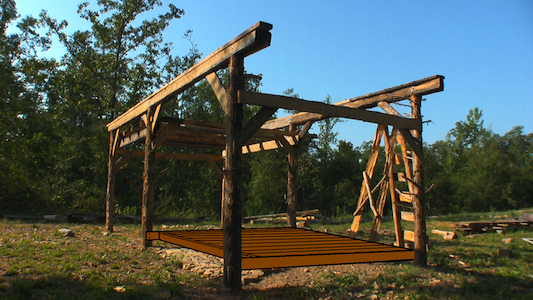
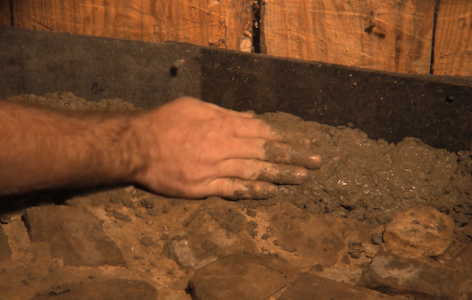
However, instead of a plank or dirt floor, I put down a rock floor. But since this workshop needs to be a jag more weatherproof than a barn, I need an idey for closin’ up the gaps between the floor and walls. And that idey starts with tearin’ up some old discarded roofing shingles and mixin’ up a batch of concrete. The pieces are lightly tacked in place all along the ground between the rock floor and wall boards. The concrete will dry, fittin’ the space right well, and the shingle pieces acts as a moisture barrier between the wood and concrete. Old license plates are ideal to use for this, too.
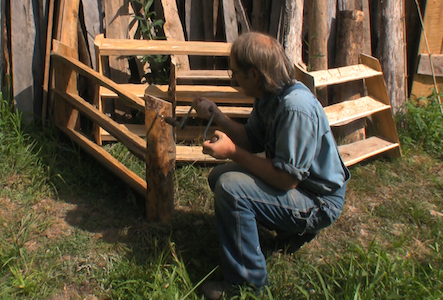
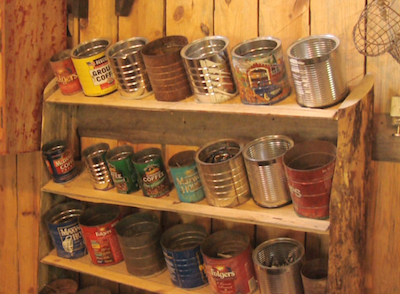
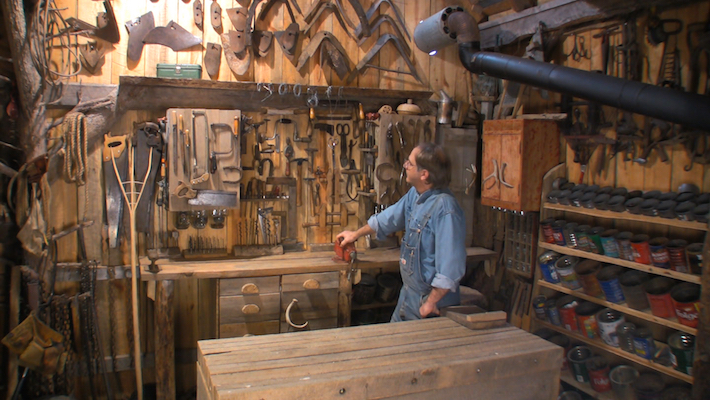
Shelves held cans of assorted nails and screws in my old workshop, and that’s just what these shelves will do in the new workshop. Except these shelves are slanted to see the contents of the cans better. Little strips of wood tacked to the outer edge of the shelves will keep the cans from slippin’ off. You just can’t have enough cans full of nuts, bolts, screws, washers, and all such as that. It’s kind of like havin’ your own hardware store. And havin’ the shelves leanin’ like this helps me see what all’s in stock.
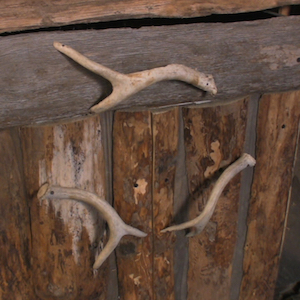
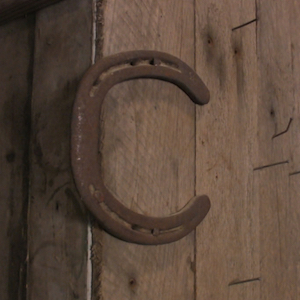
Cabinets are handy for takin’ advantage of available space. So are drawers. Deer antlers make handsome handles, as do old horseshoes.
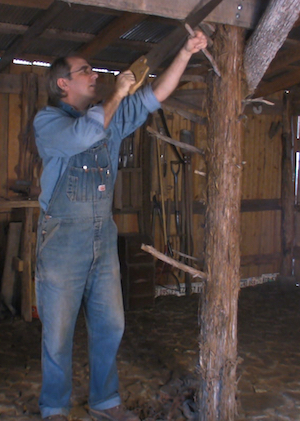
These poles have stood here throughout most of the construction, just waitin’ for their limbs to be trimmed a little; a favorite finishin’ touch I can really hang my hat on…or other things.
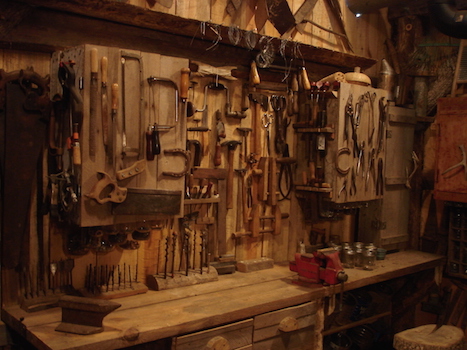
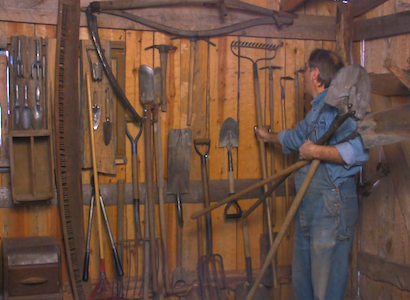
Building an old-fashioned pole barn is sure a hoot to do, but almost nothing compares to the downright excitement of beginnin’ to move in once the main part of the construction draws to a close. And that fine moment to relish is when I finally hang the tools up in divers places all over the workshop poles and walls wherever there’s space. You know what they say: “A place for everything, and everything in its place”, or somethin’ to that effect.
As for the garden and diggin’ tools, I’m partial to puttin’ them right by the door. Durin’ the busy garden season, I want to be able to grab ’em and go. Most of the timber and rough carpentry tools are also hung up.
There’s a good bit of workbench space in here to be used for all types of future projects and work, includin’ a dedicated place for fixin up old stuff, one of my favorite ways to pass the time through the long winters.
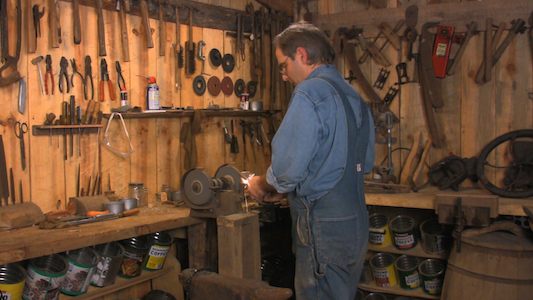
Although it’s a good time for fixin’ up old things (and quite beautiful) winter tends to put a damper on things. But this spell of cold weather’s got me studyin’ how to keep the cold out of the workshop. With a fair-to-middlin’ coat of stove black on it, my old wood heater looks right proper and hopefully will take some of the chill out of the air. Old license plates tacked to the wall behind it help reflect heat.
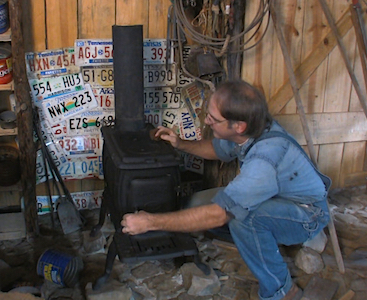
Rather than goin’ straight up through the tin roof, I’ll use a triple-walled section of stove pipe to go right through the gable end wall. The extra pipe in the room will radiate more heat.
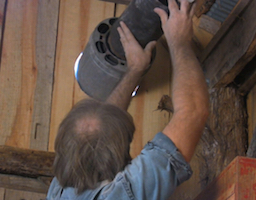
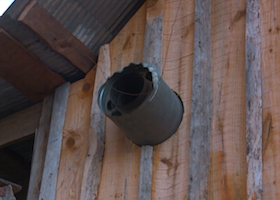
As for more weatheration, I can wet down strips of newspaper or the thicker paper feedsacks and twist the into long narrow pieces that can be shoved into cracks where drafts of air come through, such as where the wall meets the tin on the low side of the side sheds. Around the triple wall stove pipe that goes through the wall, aluminum foil crumpled or rolled and poked into the cracks works well to cut down on cold drafty air.
Over the years, many American farmers have worked and kept their tools in pole barns. My grandpa, Pa Mac, used his small well house for a workshop, but he might have been pleased to have a little more room…and I’d like to think he might have been a little bit pleased at my work, too.
As I’ve said before, the best part of farming’s not in the having, but in the doing. There’ll be lots to do in this shop in days to come along with plenty of time for just bein’ with friends. There’ll be time for all of that eventually, God-willing. But for right now, it’s time to say goodbye to the old workshop that lives in my memory … and hello to the new one.
Posted by Pa Mac, article & photos copyright 2015, Caddo Heritage Productions
