Watch “A Nice Rock Floor” – Episode 8 of The Farm Hand’s Companions Show right here, or read the corresponding post that follows below
Piled ‘em up, threw ‘em hard,
Left ‘em where they landed,
What I once was happy heavin’,
Now on which I’m happy standin’
by Rocky Walker
At this stage of the construction on my new workshop I can turn my attention (and a few of my daylight hours) to workin’ on the floor I’ll be walkin’ around on in there. Now keep in mind this is a pole barn type construction, and had I intended to use this as a barn—that is, with livestock stalls for groomin’ mules or milkin’ cows or the like—I’d be leaving a majority of the barn square footage a simple dirt floor.
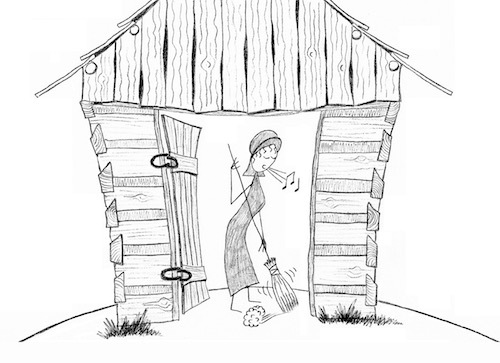
Back in the old days, most outbuildings on a farm had dirt floors (along with a few of the homes; I’ve heard of folks that used to live in dirt floor houses around here settin’ their metal bedposts up on rocks so the moisture from the ground wouldn’t rust ‘em). After much use, a dirt floor packs down so nicely, you can even sweep it clean.
But let’s say I wanted a corncrib, feed room, or tack room within this pole barn structure. For this I might install a wood floor using rough cut, 1-inch lumber. The horizontal floorboards would be nailed down on top of 1 & 3/4 or 2-inch floor joist boards (7-8 inches wide) that span from pole to pole within the smaller area that’s to be floored. I’d probably make sure the flooring is as far off the ground as I’m willin’ to step up, in order to prevent as much rot as possible from the ground moisture underneath. In my old barn I took half of a 12’ by 12’ stall turnin’ it into a corncrib in this manner, with 12’ X 6’ of floored space to store ears of unshucked corn or sacks of feed. I also kept both a hand operated corn sheller and grinder in there, mounted to the wall.
The tool room in my old barn was made with discarded bricks, and I wouldn’t mind havin’ a brick floor again in this new workshop.
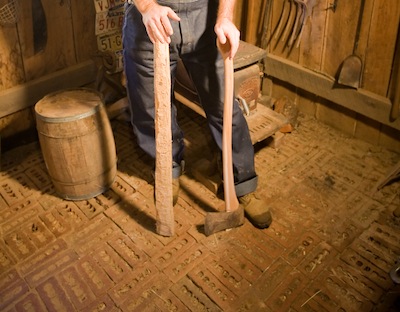
Bricks are a good option for folks who are geographically rockless.
My old pigpen had a good floor, too (the part that was under the barn, anyway). I built it out of broken up concrete slab pieces somebody threw away, using mortar to fill up the in-betweens; a handy place for the pigs to come in from the mud if they chose to, and very easy to keep clean—again … well, relatively clean. It was 12’ by 6’—and you guessed it—the other half of the 12’ by 12’ stall shared by the corncrib.
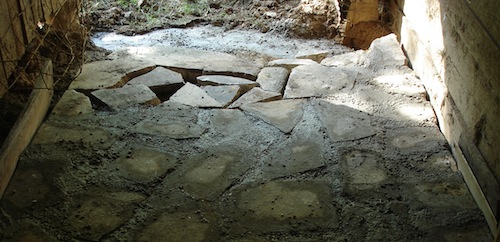
Pigpen floor
However, broken up concrete slab and unused bricks are as scarce as hen’s teeth around this new property of mine.
But I’ve not run into difficulty findin’ rocks, though. Which is why I chose ’em for a more “down to earth” workshop floor. In fact, I’ve found several different shaped rocks full of possibilities. Even smaller rocks with one or more flat sides can come in handy; and just about every rock around here seems to be flat on at least one side. While most of ’em may not be great candidates for masonry work, having that one flat side makes ’em near ’bout perfect choices for puttin’ down a nice rock floor.

The brick-shaped rocks are great for just about everything; wish there were more of ‘em.

Wedge-shaped rocks are even good candidates for a rock floor.
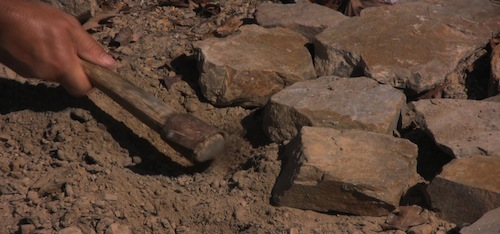
To begin, I tote lots of usable rocks to within reach of the worksite. Then I use a short handled grubbin’ hoe to bust up the ground, preparing it for the rocks by makin’ it good and soft.
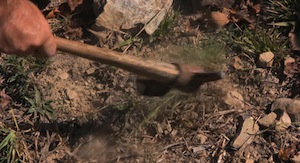
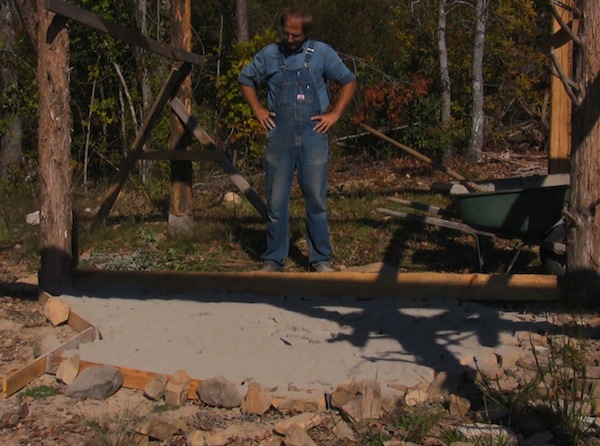
With the ground ready, I begin layin’ the rocks fairly close to each other. I match ’em together the way they seem to fit best, with their best flat side on top. Sometimes it takes some thinkin’, and sometimes it takes searching for the right rock—but generally a little of both.
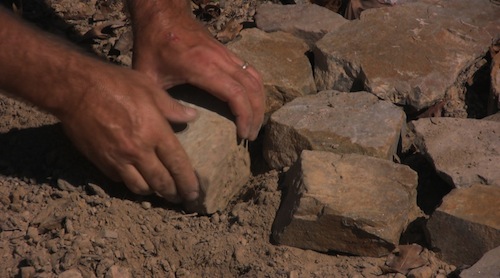
The trick comes in findin’ a firm “seat” for the rocks by diggin’ out the ground to match each rocks underside while keepin’ their flat tops even with one another. It’s kind of a 3 dimensional puzzle. I s’pose it takes me about two minutes to dig and lay one square foot, and layin’ only about 20 to 25 square feet at a time helps me not give out too quick. At the end of each “layin’ session” I temporarily put scrap boards around the edges to keep the sand and mortar mix from washin’ out.
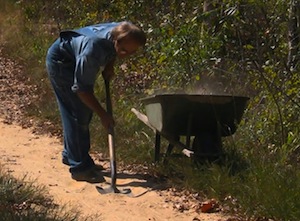
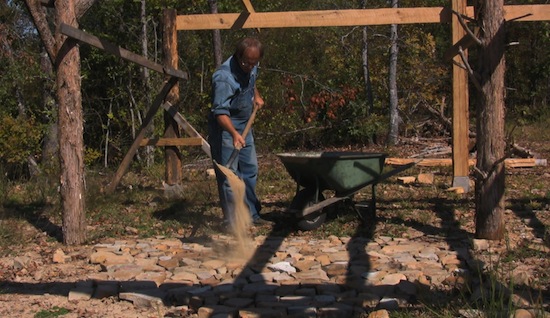
To save on mortar mix, I fetch up some sand or light gravel from wherever I can find it and spread it to fill the cracks about half of the way up. [Now if I were living way up north with those sub zero temperatures throughout hard winters, I might consider using less sand or gravel and more mortar; but alas, not everybody can be a Southerner, I guess. Somebody has to take care of all the cows and chickens in other parts of the world.]
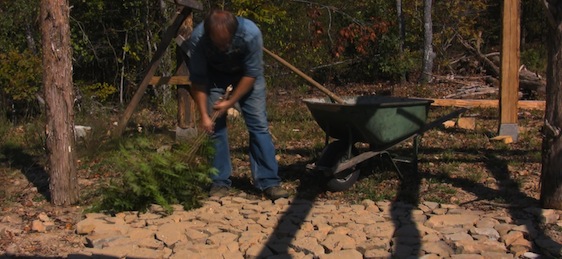
I needed a specialized tool for spreadin’ out the sand, and some sweet gum saplings growin’ not more than 20 feet away were just the thing. The sweepin’ helps settle the sand into all the empty cavities.
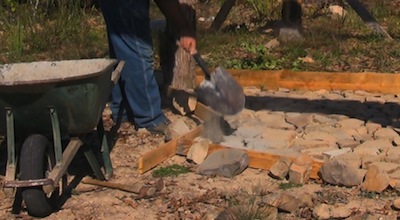
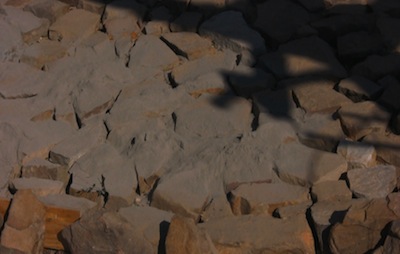
With the sand all settled in, I can fill the upper half of the cracks with the mortar mix (which is just that: mortar and sand, premixed together at the correct proportions … awaiting water only; you can purchase the individual components—that is, sand and mortar—and mix them yourself, or buy the premixed bags ready to go), until it’s almost level with the top of the rocks. Then it’s more sweepin’.
Now here—I gotta tell you—mortar dust is some fairly noxious stuff. I probably should wear a red hanky around my noise and mouth when I do this. However, it did help that the wind was blowin’ that day. It’s neither fun nor recommended to be snortin’ up concrete balls. [Note: This is a good time to remind my readers and viewers that I don’t do safety manuals or safety training videos; I’m just a simple man showin’ folks how Pa Mac does his own things his own way. All free people are masters of their own safety, and responsible thereunto.] Anyway, once the rocks are all swept out even, I can tell whether or not I’ve put down enough.
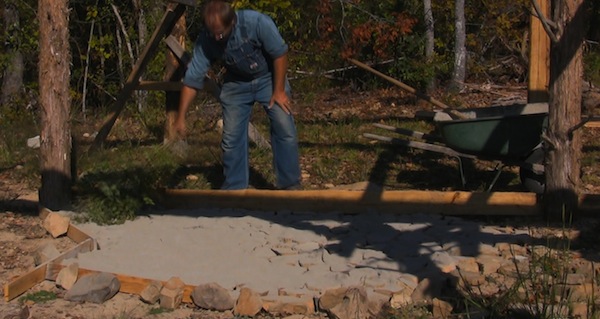
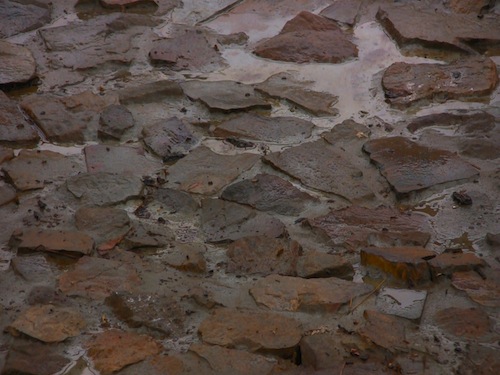
Once I’m content there’s an even covering of mortar mix, I can wait for a slow, even rain or just give it a good hosing to wet it all down. Even though a nice rain will do the job of soaking my work down, it might not perform the job as “pretty” as I could do it with a hose and nozzle. Having control over the spraying helps me to kind of manage the mortar mix into the cracks without it settling on top (which hides the natural beauty of the rocks; yes, there is some natural beauty to most of ‘em). With a natural rain I’m obviously not in control of the aesthetics … but I’ll still end up with a solid floor that’s a pleasure to walk on.

So far, so good, I’m thinkin’, and I’m enjoyin’ doin’ it … I am. It’s awful nice to know I’m doin’ something productive with the abundant materials around me, and very few things are as geologically abundant around here as rocks. The mortar is my only real expense for the floor, with 80 lbs of mortar mix applied to about 25 square feet of laid stone (more or less depending on how much filler sand or gravel you apply to the bottom of the in-betweens).
Posted by Pa Mac, article & photos copyright 2014, Caddo Heritage Productions
