Watch the “groundbreaking” for my new workshop … literally … in episode 4 of The Farm Hand’s Companions Show right here, or read the post that follows below
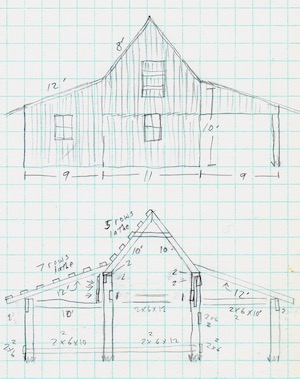
A barn is typically the first outbuilding to go up on a farm. My old barn back in Tennessee served as a workshop as well as shelter for livestock. But on my new Arkansas farm I’ve decided to build a separate workshop … and then put up a barn later. However, even though this particular building will be used by me as a workshop, the basic design of the structure I’ll be demonstrating in several posts and video shows to come is very practical as a typical livestock barn on the small farm or homestead. In fact, my old 6 stall barn I built in Tennessee was just a larger version of this design, with the only major differences being in the dimensions of the layout.
This simple workshop will rest on a simple foundation … logs planted vertically in the ground. This type of structure is called a pole barn … for obvious reasons. Next to log structures, a “pole barn” type building is one of the simplest to construct and will serve quite well for woodworking projects, farm repairs, and tool storage.
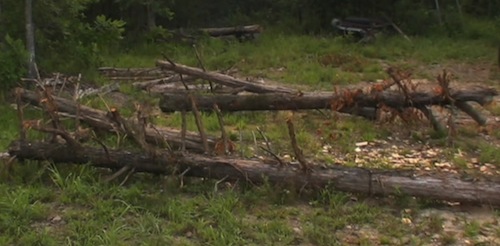
Rot resistant cedar trees are my favorite choice for pole barn poles. The first step is to go out, fell, and collect half a dozen of them for the center part of the building. I’m careful to leave about 18 inches of each limb on for hanging all kinds of things later in the finished workshop. I can always cut off the unneeded ones later.
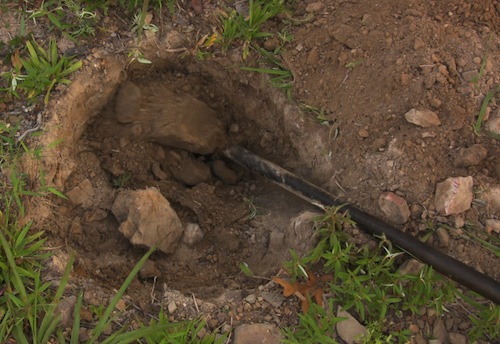
After I locate where the building will stand, I start digging the hole for the first pole which will be one of the outside corner poles…any of ‘em. Now, it doesn’t take long around here to meet up with the first of countless rocks. No worries; I have the perfect thing: It’s an old buggy axle grounded to the shape of a dull spear. This one’s kind of sentimental to me (as sentimental as an old buggy axle tamp bar can be) since my Daddy made it back when I was so little I could barely carry it to him when he needed it. This tamp bar is also a great tool for packing down the dirt in the postholes later, as well as prying out rocks and loosening up hardpan dirt.
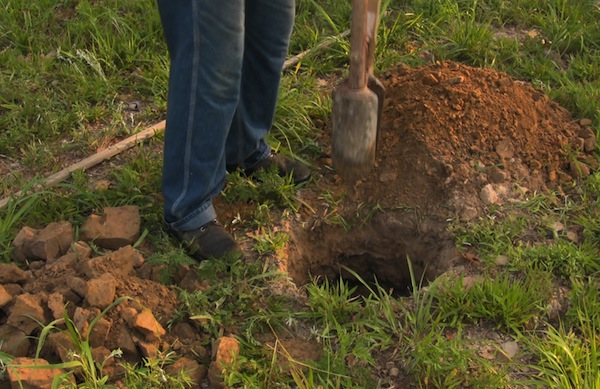
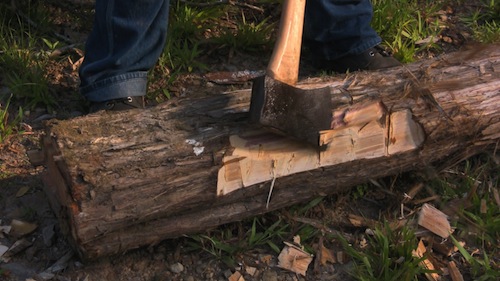
Whether for barn poles or fence posts, posthole digging is an engaging activity that I highly recommend. It’s a great workout for young athletes … with the added benefit of actually accomplishing something. Once my posthole is 2 & 1/2 to 3 feet deep I’m ready to set the pole. But first I take an axe to the bottom of the pole that will be in contact with the ground. On cedar, the white sapwood is not as rot resistant as the red heartwood, so off most of it comes.
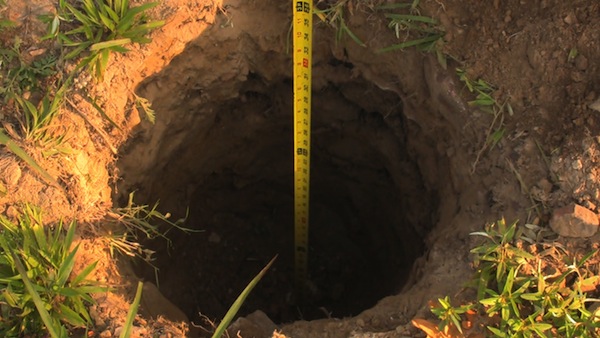
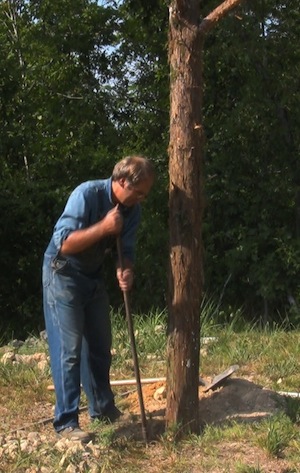
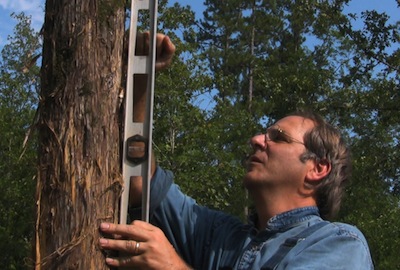
After lifting up the pole and letting it drop into the hole, a few shovels full of dirt are added back and packed down right good with the tamp bar. This gets the air pockets out and causes the pole to be firmly set in the ground. Now I take a level and check the pole for plumb. Even when the poles aren’t perfectly straight, I just make sure they’re plumb from the top (where they’re later to be cut off) to the point where it enters the ground. With somewhat crooked poles it’s better to use a plumb bob, which can be any small object tied to a string, as long as it’s heavier than the string. I used lag bolts, but spark plugs work even better for this. I hold the string at the top as the lag bolt is kept perfectly still at the bottom. Then eyeball the string and pole together, adjusting the pole till the general shape matches the line of the string. When I’m sure the pole is plumb, I continue filling the hole by alternately shoveling in more dirt and then tamping until the hole is not a hole anymore.
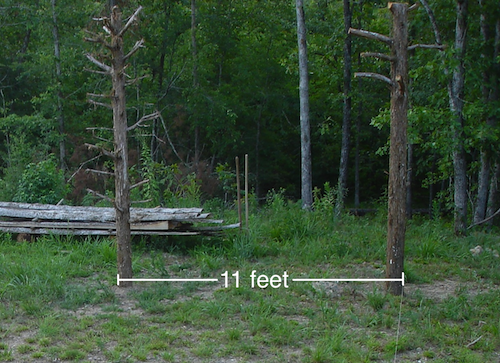
The next corner post will be 11 feet from the first, measured from the outside edges. With a bit of digging and many rocks later I’ve set and finished the 2nd pole.
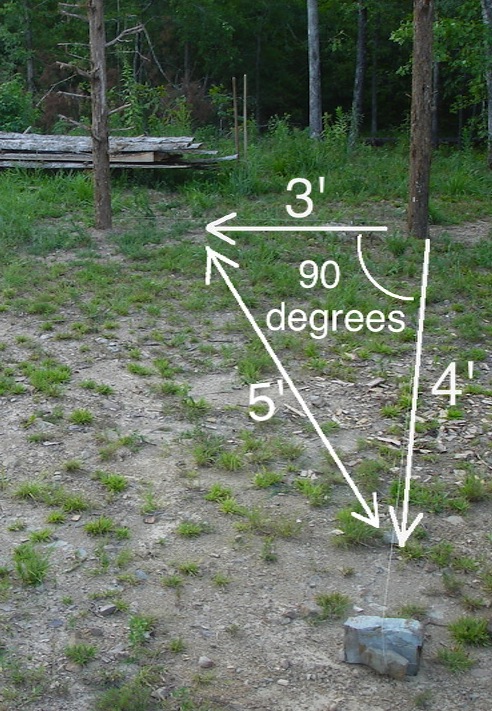
With these first two poles in the ground, the third pole to go up should be either one of the other corner poles on the far side of the structure. To figure out where it’ll go, I use some rocks, string, and tape to make sure the corner poles form a perfect rectangle, giving the pole barn opposite sides of equal length. The string can be adjusted easily as I measure. Since the posts are round, scrap pieces of wood help locate the virtual corners so that my measurements will be accurate. Where the third pole on the far corner goes is actually pretty important. It must be set at exactly 90 degrees from the other two poles so the building will be rectangular and not sittin’ slaunchwise. To accomplish this (along with the rocks, string, and tape), I use perhaps the most valuable math I ever learned in school … the Pythagorean Theorem, which boils down to a simple formula: a2 + b2 = c2.
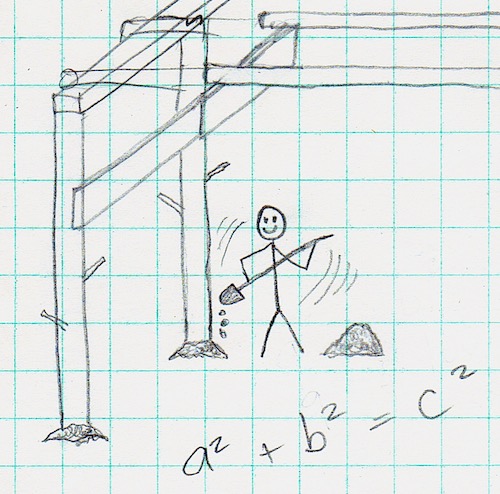
I’m not exactly sure who Pythagoras was, but I’ve little doubt he was the “go to” man for pole barn building in ancient Greece.
The Pythagorean Theorem is also known as the 3-4-5 rule, which is very helpful in making sure the four corners of my workshop will each form a perfect 90 angle. From one corner, you mark 3 feet out on one line, and 4 feet out on a 2nd line, then adjust either of those lines until you measure 5 feet from mark to mark. The resulting angle is always 90 degrees. For more accuracy on a larger scale, I double those first couple of numbers for this 3rd pole to 6’ and 8’, marking those points on the line with electrical tape. Then I just adjust the string until I measure 10 feet from tape to tape.
Once I’m confident I have a 90-degree angle I use more string, rocks, and measuring to zero in on the exact spot for the last two corner posts. After the four corner posts are up, it’s no botheration to pull a string, measure, and set the last two posts in the middle.

Now it’s time to bring some logs up from the woods and cut ’em up into some homemade lumber for the workshop.
posted by Pa Mac, article & photos copyright 2013, Caddo Heritage Productions
