NOTE: Throughout the history of mankind, people engaging in any type of farm work have done so at their own risk. The following video and article depicts elements of danger that are quite obvious to all viewers blessed with common sense, and is not intended to be used as instruction in safety procedures … especially not for folks with limited or no experience with dangerous tools. There are also many factors that determine the integrity of a large structure like the one being built here. Anyone attempting to build their own structure themselves is really doing this: exercising the liberties and freedoms this country has always recognized for folks to do things for themselves … at their own considered risk.
I really hope you enjoy readin’ and viewin’.
Pa Mac
Watch the first several boards going up on my new pole barn workshop in episode 6 of The Farm Hand’s Companions Show right here, or read the corresponding post that follows below
Most great barns
Were level and plumb,
And this is the reason
Their passing’s not come
And a few good barns
Could’ve suffered some,
Because some weren’t level,
And others weren’t plumb.
by U. Ken Bildham
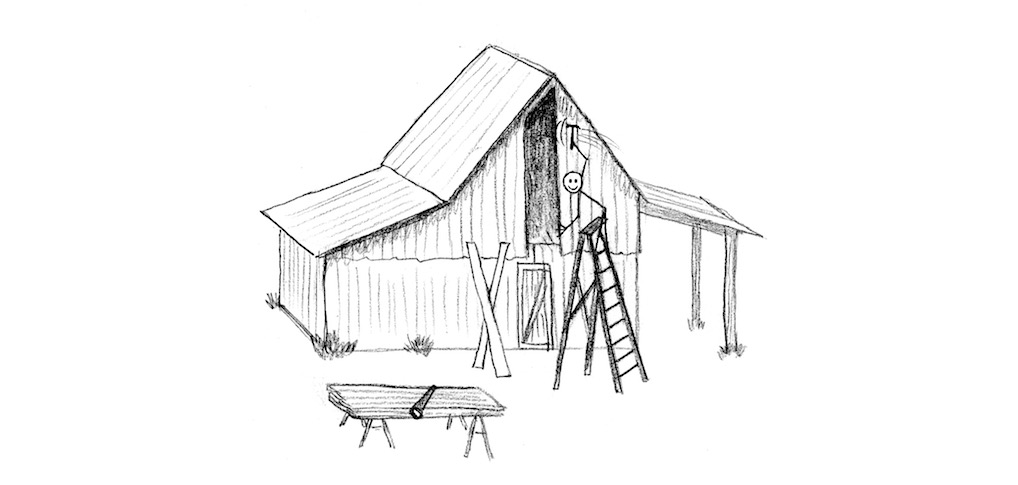
The thing that runs through my mind when I build any type of outbuilding on the farm is to build it with enough structural “soundness” that it has the best chance at outliving its own usefulness. I don’t mind if my kids or grandkids have to rebuild it one day (I’m not being thoughtless toward my own future kin—they need the blessing of hard work, too), I just don’t want to have to build something twice.
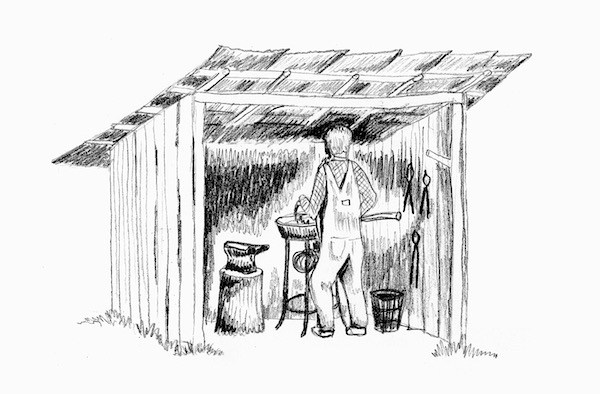
The blacksmith & tool shed my grandpa built long ago was no complicated structure, but common sense carpentry in joiningwood to wood helped ensure its stability decades beyond the last ring of a hammer on its anvil.
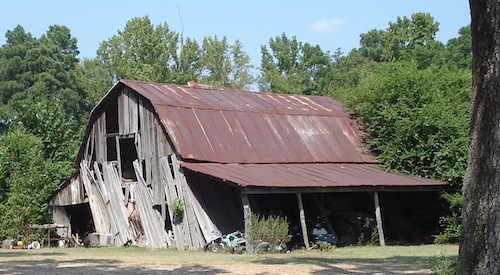
The integrity of the skeletal structure of any building has much to do with how well it does its job; and that job is to contain and protect things. When that integrity begins to fail, at some point the things in a building need protecting FROM the building.
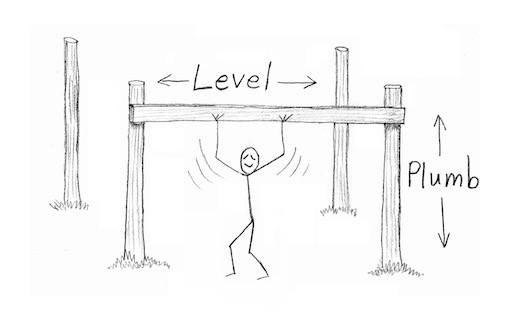
The principles of “plumb” & “level” are key to building soundly and easily. When an object is plumb it means that one or more of its features are in line with gravity’s singular direction of pull toward the center of the earth; in other words, it’s straight up and down. If something’s “level” it means it’s perpendicular to that imaginary line of gravity’s direction of pull.
Making sure that all the poles and boards of my new workshop are level and plumb will simplify the construction process as well as help ensure the structure has longevity. And the pole barn method of construction is a right good choice for my workshop because it can be relatively simple for one person to build … board by board. This is why this particular method of building is ideal for the farmer who’s limited to working on his projects whenever time allows. (It can be right hard to get other folks to help you every time you grab an hour here or there.) And now with my posts already set and plumb (if you missed it, see “Building an Old-fashioned Pole Barn, Part 1”), they’re ready to be joined by level lumber (if you missed me sawing up some homemade lumber take a look here) that will provide a solid structure.

My first step is to mark where an imaginary level plane intersects each pole. (But I suppose once I mark it, it’s not that imaginary anymore, is it?) Marking level points on long spans between poles wouldn’t be too terribly hard with a carpenter’s level, a long, straight-edged board, and a patient friend to lend a hand. However, my favorite method is a simple bubble level attached to a tightly stretched string.
Driving a nail in the 1st post at any comfortable height (probably a little lower than eye level), I place a small loop at the end of some string, place it around the nail, and with the level hanging in the middle I stretch the string tightly and wrap it around a 2nd nail driven in the 2nd post at about the same height. This 2nd nail is readjusted up or down until the bubble in the level shows a “level” string.
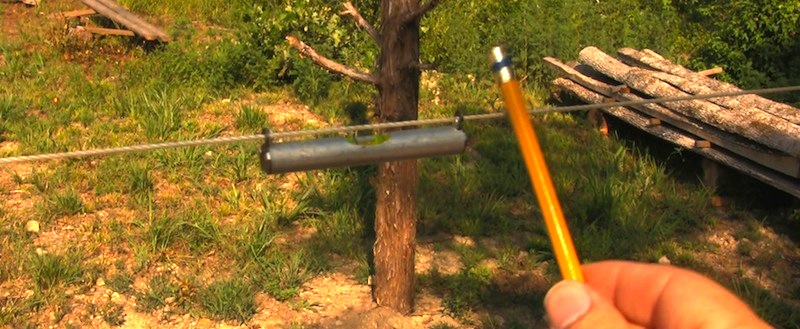
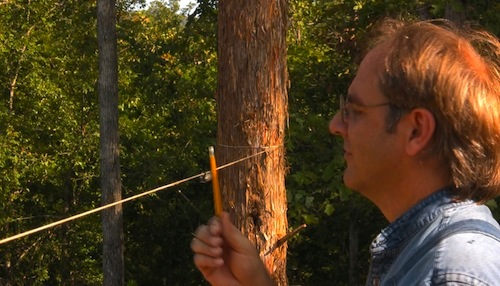
This step is repeated between the 2nd pole and 3rd, and so on all the way around. If I end up showing level between the nail on the 6th pole and the original nail on the 1st pole, I figure I’ve done pretty well, so I pat myself on the back. T’was kind of fun, too. And now I know I have 6 nails on as many poles that represent where a level plane intersects each pole.
Next, with my extra long measuring stick I mark how high I want my sills to be. This is what the roof framework (otherwise known as trusses) will rest on. This height really just depends on how high I want my roof to be, and will affect whether or not I bump my head on the tops of doors or rafters. On my plans the bottom of the trusses will start about 10 feet high so I’ll need to mark that on the 1st pole. [A note here: If my workshop was sitting on a hillside I would need to decide if that 10 foot mark would be made on the high side or low side. If it were made on the high side of the hill, then naturally the part of the workshop sitting on the low side would measure from ground to truss higher than 10 feet; and if marked on the low side of the hill, the part of the workshop sitting on the high side would measure from ground to truss shorter than 10 feet. In other words, depending on where I make this initial mark, part of my workshop might end up taller or shorter than I anticipated due to the hill it’s sitting on. But no worries for me—the ground from one side to the other only slopes 4 inches in about 22 feet.]
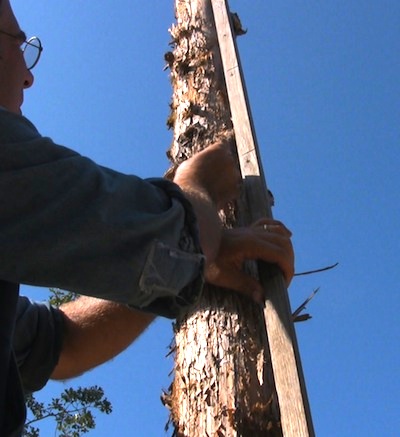
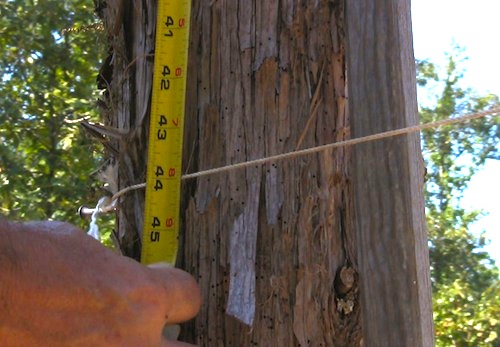
Now I measure the distance from my 10 feet sill mark down to the mark of the nail representing the level plane I made earlier. It just happens to be 44 inches.
Using that same measurement of 44 inches, I mark the same distance up from the level plane nail on each pole. This ensures that the sills (and therefore the roof later) will sit level on each pole … even if the ground is not level.
Having marked where the tops of the sills will sit, I carefully cut the posts off even with my mark.
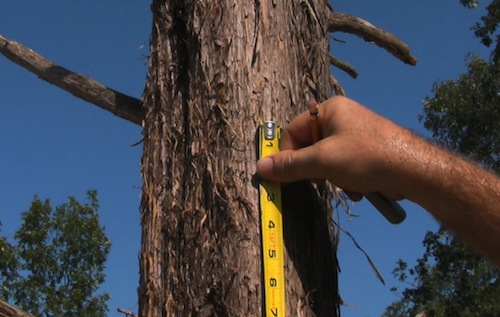
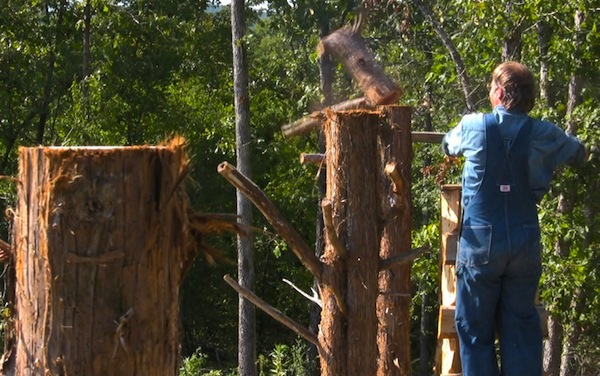
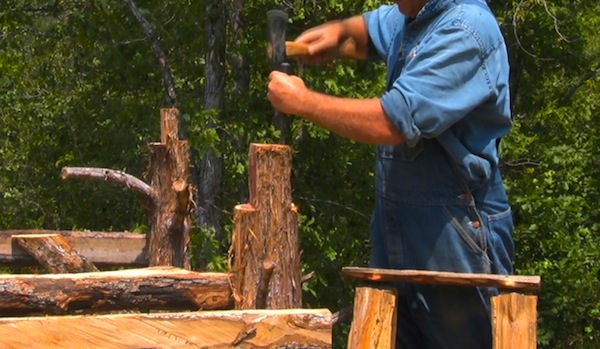
Next, shoulders will be cut and chiseled on the posts that will give the sills a firm seat to rest on, rather than relying solely on the strength of bolts or nails to hold up the weight of the entire roof.
A bit of tape on the saw blade lets me know how deep to make each cut as I score the shoulder.
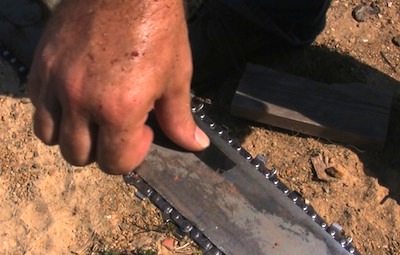
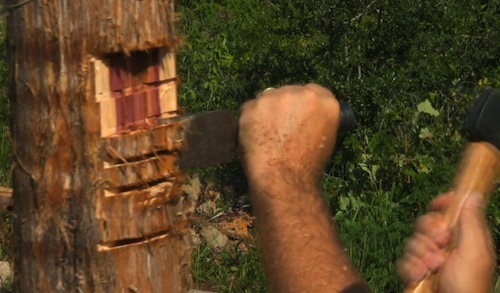
The width of the boards I’ll use dictates how far down the post I score it. The loft floor sills will be situated about 2 feet below the top sills and will also have notched shoulders to rest on that are cut to match the height of each board, while making sure their tops are all in a level plane with one another (so that the loft floor will be level). These shoulders cut and chiseled into a pole don’t have to be deep; especially on the skinnier poles. Otherwise you’ll be diminishing the strength of the pole.
Now for some boards. Finally.
For all boards that will carry the greatest load of trusses or rafters I use hardwood lumber that I milled to a thickness of about 1 and 3/4 inches. [1 and 1/2 inch seemed kindly weak, and 2 inch might tempt me to chisel off too much of the pole.]
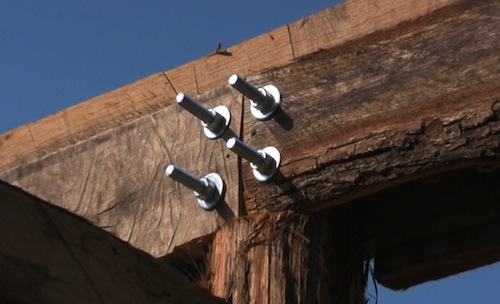
Holes were drilled through both lumber and posts to secure the truss and loft sills to the posts. This was done using heavy clamps that held boards on each side of the posts while I drilled the holes with an extra long bit. I could’ve used large nails for attaching these boards but nuts and bolts have less chance of working loose.
Once the two vertically positioned sill boards are installed, the top plate can be nailed in place and gives a flat, wide surface for the trusses to rest on. When nailing hardwood that’s not green (that is, it’s been quite a while since it was a living tree) you’ll need to either pre-drill each hole, or better yet, keep a small container of grease in your nail pouch with nails sticking down in it to pull from. Grease, oil, or even soapy dishwashing liquid on the tips of nails will keep you from bending a lot of ’em when hammering into cured hardwood boards, and is less trouble than pre-drilling. However, I do like to pre-drill if nailing near the end of a board to help prevent splitting.
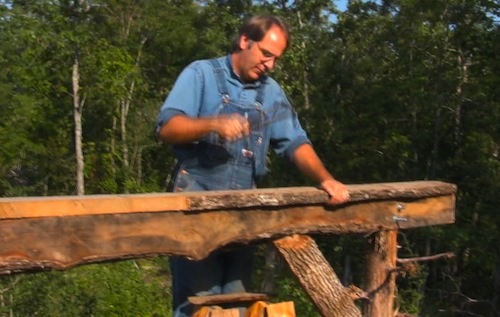
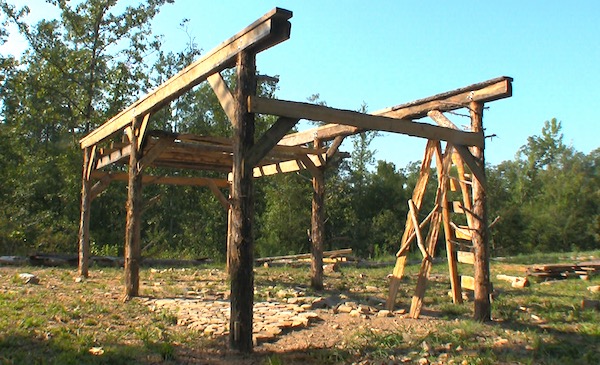
With the top plates on each side all the way down, a 1 and 3/4 inch board is nailed at both the front and back of the structure, with their tops about 3 feet down from the top plates top. Incidentally, with my workshop plan the two rows of top plates ought to be 11 feet 2 inches apart from outer edge to outer edge (The extra 2 inches allows for an inch of the plate to extend past the cedar posts on either side. It really wasn’t necessary to notch out more of the post just to have the sill perfectly even with the outside edges … since I like for as much of the post to be left as possible). Making sure that this distance is consistent all the way down is important for installing the trusses later. Mine were just fine. Had they been off a tad, now would be the time to draw them in or push them apart ever so slightly to an exact 11 foot 2 inches, while nailing the front and back boards on to hold them, and possibly a temporary board across the middle pair of poles to hold that distance in the center if necessary.
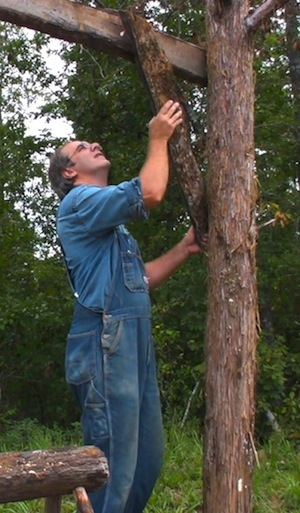
Once the poles are all connected by horizontal boards, braces can be installed at 45 degree angles to give stability to the entire structure. Irregular slab lumber, leftover after milling logs into boards, are just fine to use since both ends need to be sculpted to fit the board and pole anyway. I started by marking where each end needed shaping, but it’s basically a job of trial and error to arrive at a decent fit that doesn’t rock at either end. With the braces installed, it’s pretty fine to note how much less the structure shakes or moves when gently pushin’ the poles. Later on, with roof up and walls on, it’ll move even less.
Now might be a good time for me to install the loft joists.

Mine are made from small hardwood trees (about 5 to 6 inch in diameter) that I hewed square with my chainsaw, using a long, straight-edged board tacked to it as a guide. Setting them up on the loft sills, I turned them until they all fairly well matched on the top and nailed them in place at about 2 foot intervals. Later on, floor boards will be nailed to the top of these rough 4 by 4 joists giving me a place to walk around and store things up there.
With all horizontal boards and their bracing in place on the central or main part of the pole barn, it’s time to turn my attention to adding poles and sills for what’s called “side sheds”.
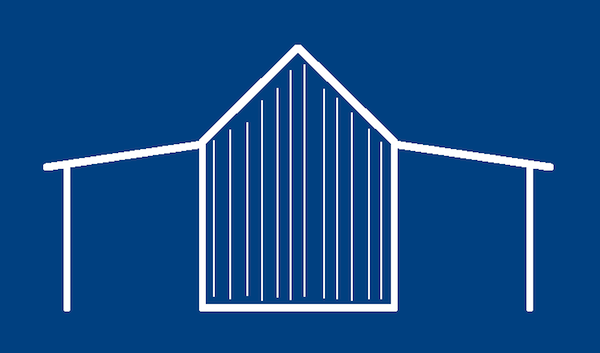
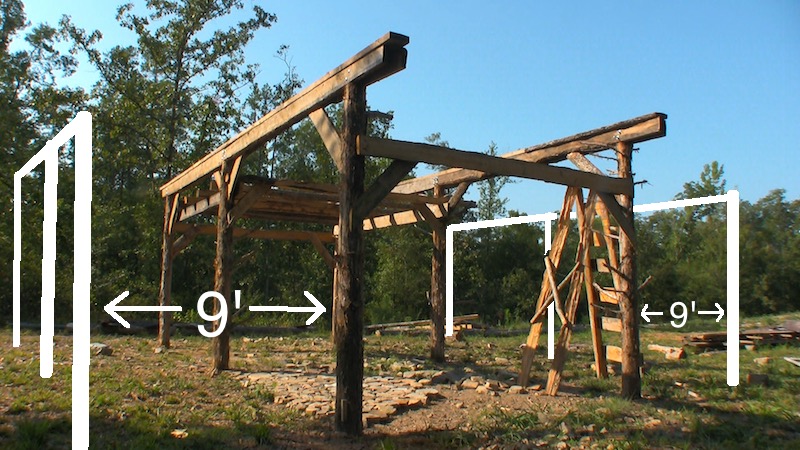
A “side shed” is just that … a shed on the side of a building. Either side, or both. These are right nice in that they add square footage to any building with little structural effort. My side sheds will extend out 9 feet from the main structure, and instead of being set in the ground the posts will rest on concrete piers. This avoids posts rotting from all the rainwater coming off the roof. I use batter strings with rock weights on each end to get my measurements correct. For more information on how I did this, spy a quick glance at the “Building a Pole Barn, Part 1” article.
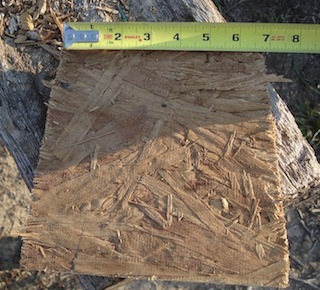
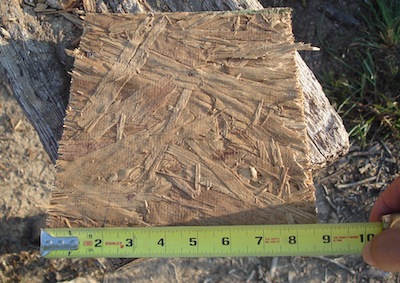
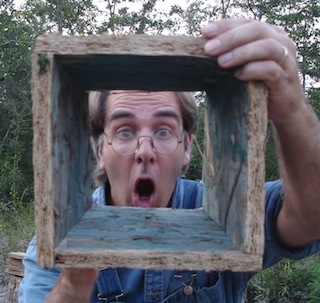
Trapezoid shaped forms for the piers are made from scrap wood. The 4 pieces that form the “form” are each 6 and 3/4 inches at the top by 8 and 3/4 inches at the bottom, and when assembled will ultimately result in a pier that’s 6 inches at the top and 8 inches at the bottom.
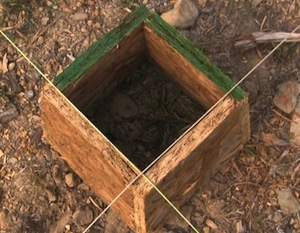
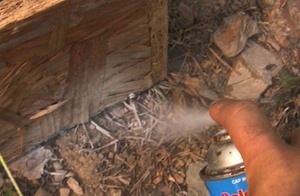
After setting the form so that the inside dimensions are even with my batter strings, I used spray paint to mark the outline of the form on the ground. This showed me where I need to dig a hole about a foot or so deep under the pier that will also be filled with concrete. The concrete that will fill this hole and extend up into the form will help keep the pier from settling too much over time. Once the hole is dug the form is repositioned so that the top of the pier will be in line with my batter strings again.
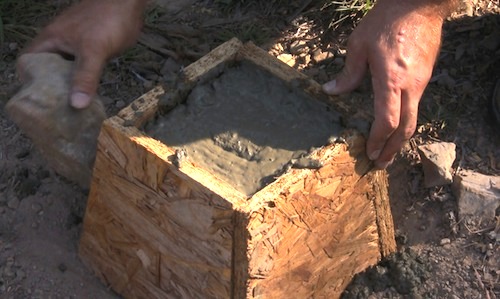
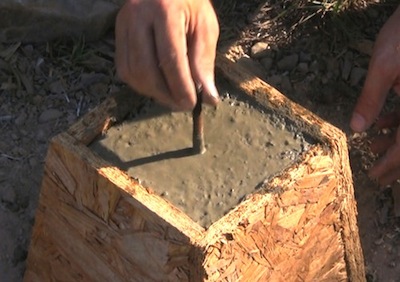
If memory serves me, just over 40 lbs of concrete (not including the water) filled each hole and its corresponding pier. After the initial filling, tapping with a hammer or rock works out a good many air pockets, settling the concrete down into the form and hole so it can be filled some more and topped off level. A bolt, lag screw, nail or any similar metal object I can find is placed halfway in the concrete and will keep the post from being knocked off the pier. I give one last check with the batter strings in case I need to adjust the form while the concrete’s still wet. When the concrete has set up just a bit, I temporary put some rocks around the bolt just for my own safety’s sake. Tripping and falling on a pointed bolt sticking up from a 40 lb block of concrete has all the makin’s of ruining a fine day.
While waitin’ at least a couple days for the concrete to dry, I can finish peeling the side shed posts. Since these will sit up off the ground on piers I don’t have to use a rot resistant type of tree, and these oak posts I chose will have plenty of strength. The bigger ones are just hewed or sawed off square. I left limbs on a few of them for hanging stuff on later.
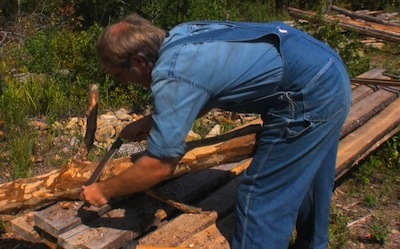
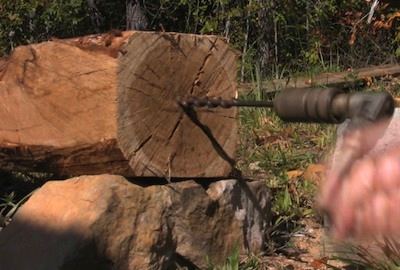
Lastly, a hole is drilled in the bottom of the posts to receive the bolt in the concrete. Make sure the drill bit is slightly bigger than the bolt.
Once all six posts are prepared, I can remove forms from the piers. I carefully and lightly chip the rough edges with a hammer but rubbing them with a rock works, too … and probably better.
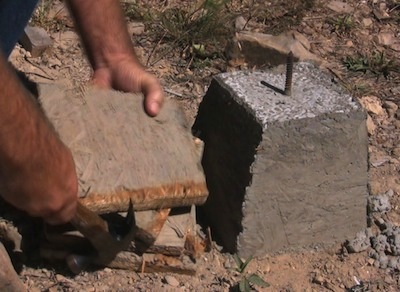
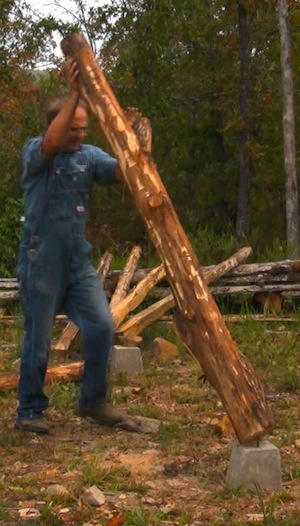
The side shed posts can now be positioned on their respective piers, with the bolts fitting nicely into the slightly over-sized holes.
With all six posts up on their piers I temporarily brace ’em with scrap lumber making sure each outer side is plumb.
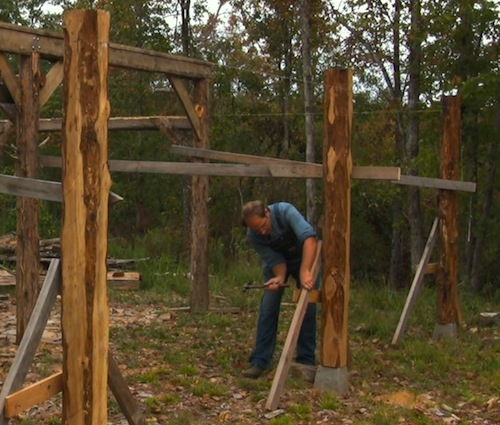
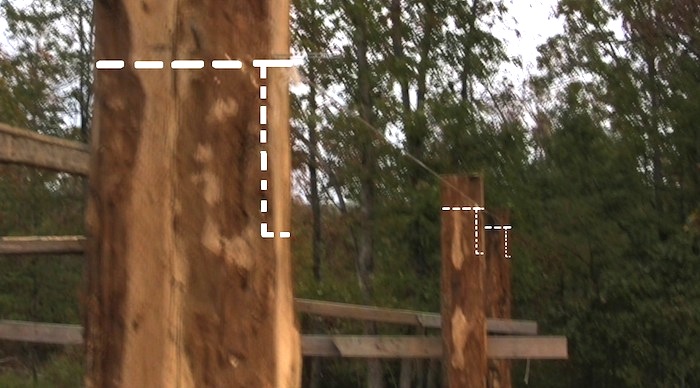
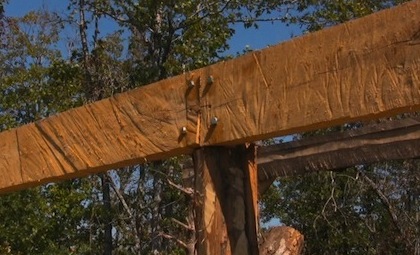
Then the string level is used to mark the rafter sill height across each post. Since two side sheds are being built on this particular building—one on either side—I make sure that the height of both sets of rafter sills are level from one side to the other (which, incidentally should be the same height as the two boards that were nailed to the front and back of the main structure earlier). Shoulders are cut into the outer sides (just like with the truss and loft sill shoulders earlier) and the excess tops are cut off. Finally, rafter sills are bolted onto the side shed posts. Unlike the truss sills, my rafter sills have only one horizontal board between each post bolted to the outer side.

Now that everything is as about plumb level as I can get it, my workshop is ready for rafters and trusses. And it’ll all continue being built one board at a time … with one person and two hands. Now that’s farmin’.
Posted by Pa Mac, article & photos copyright 2013, Caddo Heritage Productions
